Gluten-Free Flour Blend Calculator
Select Your Cake Type
Recommended Flour Blend
Select cake type and texture to see your blend
Baking Tips for Your Blend
Troubleshooting Guide
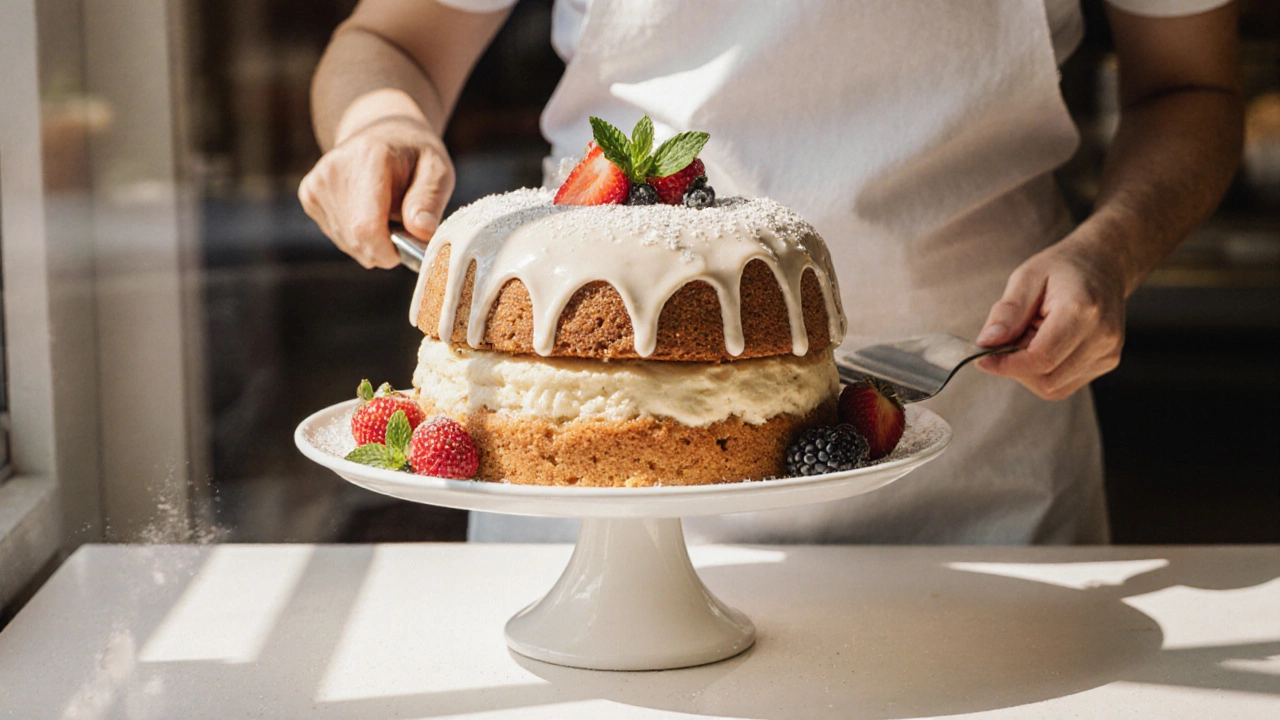
Ever stared at a bakery window, saw a beautiful cake, and wondered if it’s safe for a gluten‑sensitive stomach? You’re not alone. Understanding exactly what makes a cake gluten free helps you pick safe treats or bake your own without the guesswork.
What a Gluten‑Free Cake Actually Is
Gluten‑Free Cake is a baked dessert that contains no gluten‑containing grains such as wheat, barley, or rye. Instead, it relies on alternative flours, starches, and binding agents to achieve the same rise, crumb, and flavor you expect from a traditional cake. The term doesn’t imply a special diet beyond gluten avoidance; it simply describes the ingredient list.
Why Gluten‑Free Matters
Two main health reasons drive the demand for GF cakes.
- Celiac Disease is an autoimmune condition where ingesting gluten triggers intestinal damage, leading to malabsorption, fatigue, and long‑term complications.
- People with Non‑Celiac Gluten Sensitivity experience similar symptoms-bloating, headaches, joint pain-without the autoimmune markers, but still need to avoid gluten.
Even if you’re not diagnosed, many choose GF for perceived digestive comfort or to reduce processed wheat intake.
Core Ingredients That Replace Wheat Flour
Since gluten provides elasticity and structure, GF cakes need a combination of flours, starches, and binders. Here’s a quick rundown of the most common players.
- Almond Flour offers a buttery flavor and moist crumb, perfect for dense cakes like flourless chocolate or citrus rounds.
- Rice Flour is neutral‑tasting and creates a light texture when paired with starches; it’s a staple in many commercial mixes.
- Oat Flour (certified gluten‑free) adds a subtle nuttiness and works well in oat‑based cakes or muffins.
- Tapioca Starch improves chewiness and helps trap air bubbles during baking.
- Xanthan Gum acts as a synthetic gluten substitute, providing the elasticity needed for a cohesive batter.
Most successful GF cake recipes blend two or three of these bases to mimic the protein‑starch balance of wheat flour.

Choosing the Right Flour Blend: A Comparison
| Flour/Blend | Flavor Profile | Texture Contribution | Typical Use |
|---|---|---|---|
| Almond + Rice (1:1) | Nutty, mildly sweet | Moist, slightly crumbly | Chocolate cakes, cupcakes |
| Oat + Tapioca (2:1) | Subtle oat | Soft, airy | Vanilla sponge, lemon drizzle |
| Pre‑mixed GF Blend (e.g., King Arthur) | Neutral | Balanced, reliable | All‑purpose cakes, brownies |
| Chestnut Flour + Arrowroot | Earthy, slightly sweet | Dense, fudgy | Winter spice cakes, carrot cake |
When you pick a blend, think about the final cake’s flavor and texture. A nutty blend works great with chocolate, while a neutral blend lets citrus shine.
Step‑By‑Step Guide to Baking a Perfect GF Cake
- Measure precisely. GF flours settle differently than wheat flour, so use a kitchen scale for consistency.
- Combine dry ingredients. Whisk flour blend, starches, Xanthan Gum (if not in the mix), baking powder, and salt. This early distribution prevents clumps.
- Mix wet ingredients separately. Cream butter (or oil) with sugar until pale, then add eggs one at a time, followed by vanilla and any liquid (milk, almond milk, or juice).
- Incorporate the dry mix. Gently fold the dry mix into the wet batter. Over‑mixing can cause a dense crumb because gluten‑free batters rely on trapped air rather than gluten development.
- Rest the batter (optional). Letting it sit 10‑15 minutes hydrates the flours, yielding a smoother batter and better rise.
- Bake at the right temperature. Most GF cakes bake well at 350°F (175°C). Use an oven thermometer-GF cakes are more sensitive to temperature fluctuations.
- Check for doneness. Insert a toothpick; it should come out with a few moist crumbs but no raw batter. If the top browns too quickly, cover loosely with foil.
- Cool completely before frosting. GF cakes retain moisture longer; cooling on a wire rack prevents soggy bottoms.
Follow these steps, and you’ll avoid the common pitfalls of flat or gritty GF cakes.
Common Troubleshooting Issues
- Crumbly texture: Increase the amount of binder (xanthan gum or psyllium husk) by ¼ tsp per cup of flour.
- Dense, heavy cake: Add a little extra leavening (½ tsp baking soda + 1 tsp lemon juice) or incorporate whipped egg whites for extra lift.
- Grainy mouthfeel: Sift flours and starches together; using a fine‑ground almond flour helps.
- Dry edges: Reduce bake time by 5‑10 minutes or lower oven temperature to 325°F (163°C) and cover edges with foil.
Easy All‑Day Birthday Cake Recipe (Serves 8)
Here’s a reliable, crowd‑pleasing formula you can tweak.
- Preheat oven to 350°F (175°C). Grease two 8‑inch round pans and line with parchment.
- Weigh 240 g Almond Flour, 120 g Rice Flour, and 1 tsp Xanthan Gum. Whisk together with 1 tsp baking powder and ¼ tsp salt.
- In a separate bowl, cream 120 g unsalted butter with 200 g granulated sugar until light. Beat in 3 large eggs, one at a time.
- Add 120 ml milk (or oat milk) and 2 tsp vanilla extract to the wet mix.
- Gradually fold the dry mix into the wet batter. Stop when just combined.
- Divide batter between pans, smooth tops, and bake 25‑30 minutes.
- Cool 10 minutes, then turn out onto a rack. Once completely cool, frost with your favorite GF buttercream.
This cake stays moist for days, making it perfect for celebrations or make‑ahead freezer storage.
Quick Checklist Before You Bake
- All ingredients are certified gluten‑free (cross‑contamination can happen in bulk bins).
- Flour blend measured by weight.
- Proper binder amount (xanthan gum or psyllium husk).
- Oven pre‑heated and temperature verified.
- Pans prepared with parchment or a silicone liner.
Frequently Asked Questions
Can I use regular all‑purpose flour if I’m only mildly sensitive?
No. Even a small amount of gluten can trigger symptoms in people with celiac disease or non‑celiac gluten sensitivity. Stick to certified GF flours to stay safe.
Do I need to add extra eggs for structure?
Sometimes. Eggs provide protein that helps bind the batter. If you’re avoiding eggs, replace each with ¼ cup unsweetened applesauce or a commercial egg replacer, and increase the binder slightly.
Why does my GF cake taste gritty?
Grit usually comes from coarse flour or insufficient mixing. Use fine almond or rice flour, sift the dry mix, and blend until the batter is smooth.
Can I freeze a gluten‑free cake?
Absolutely. Wrap the cooled cake tightly in foil, then place in a freezer‑safe bag. It keeps for up to three months. Thaw in the fridge before unwrapping.
Is xanthan gum necessary?
If you’re using a pre‑mixed GF blend that already contains a binder, you can skip it. For custom blends, ¼ tsp per cup of flour typically restores the elasticity lost without gluten.
Armed with the right ingredients and a few pro tips, you can enjoy every slice of cake without worrying about hidden gluten. Happy baking!