So, your pavlova is all set up, you’re ready to impress, but wait – it’s weeping! Whether you’re a seasoned baker or a newbie in the kitchen, weeping pavlovas can be a downer. But don't worry, understanding a few simple steps can change the game for you.
To kick things off, let's talk about why pavlovas weep. A lot of it comes down to sugar. Too much or too little, and your pavlova might start crying. And if your baking conditions are too humid, that's another reason for those sugary tears. Whatever the cause, the key is balance – just the right amount of sugar, and a nice dry day.
Now, let's look at the ingredients. Eggs and sugar are your main players. The eggs should be fresh, at room temperature, and whisked well. As for sugar, superfine is best because it dissolves more easily and helps stabilize the meringue. A pinch of cornstarch can also help prevent weeping by soaking up the liquid produced if the pavlova starts to sweat.
- Understanding Why Pavlovas Weep
- Choosing the Right Ingredients
- Proper Mixing Techniques
- Baking and Cooling Tips
- Storing and Serving Suggestions
Understanding Why Pavlovas Weep
Pavlovas turning out soggy tends to irritate even the most experienced bakers. But fear not, understanding why this happens can save your pavlova from becoming a pool of sugary tears.
Sugar's Role in Weeping
First off, let’s put the spotlight on sugar. The amount of sugar and how it's used can make your pavlova cry or stay crisp. Too much sugar and the meringue can collapse due to excess moisture; too little, and it won't stabilize properly. Here’s a quick rule of thumb – for every egg white, you need about 50 grams of sugar. The sugar stabilizes the air bubbles in your meringue, creating a strong structure.
Weather Woes
Mother Nature can sometimes be the culprit. Humidity is not a pavlova's friend. A damp day can lead to a damp dessert. The moisture in the air can draw water into your meringue, making it weep. If the weather isn't on your side, try switching on the air conditioning or dehumidifier to dry out your baking space.
Overbeating Dangers
We often think more is better, but that's not the case here. Overbeating your egg whites can cause the structure to break down, and the liquid will literally weep out. Whisk until soft peaks form – not stiff – ensuring a glossy and firm finish, which helps the pavlova hold its shape.
Temperature Troubles
The baking process is crucial too. A hot oven can cake the outside before the inside has a chance to cook properly, causing it to collapse. Slow and steady wins the race here. Baking your pavlova at a low temp for a longer time helps it dry out evenly.
With these insights in mind, you’re on your way to a perfect, no-weep pavlova every time.
Choosing the Right Ingredients
When it comes to crafting the perfect pavlova, picking the right ingredients is key. Let’s break it down so you can avoid that dreaded weeping situation.
Egg Whites
The backbone of your pavlova is egg whites. They should be fresh and at room temperature. Cold eggs make it harder to get that fluffy whip you need. Separate them carefully to avoid even the tiniest bit of yolk, which can ruin your entire meringue game.
Sugar
Sugar is your pavlova’s best friend but also the potential enemy. You should use superfine sugar (caster sugar) because it dissolves quickly, giving you a smooth, glossy meringue. Make sure to add it gradually or it might not incorporate properly, leading to those unpleasant weepy beads.
Stabilizers
Adding a stabilizer like cornstarch or vinegar can save the day. Just a teaspoon of cornstarch can absorb moisture and prevent your pavlova from crying. Vinegar, on the other hand, strengthens the egg whites’ structure, keeping them firm and dry.
Additional Tips
Consider your vanilla extract carefully. Too much liquid can mess with the texture. Opt for a concentrated vanilla paste for flavor without extra moisture.
| Ingredient | Benefit |
|---|---|
| Superfine Sugar | Dissolves easily, ensuring a smooth mixture |
| Cornstarch | Absorbs excess moisture |
| Vinegar | Strengthens egg whites |
By sticking to the right ingredients and handling them carefully, you’re already halfway to a non-weeping pavlova triumph.
Proper Mixing Techniques
When it comes to getting the perfect, non-weepy pavlova, your mixing game needs to be on point. The secret? Patience and precision. Let's break it down so you can nail it every time.
Getting Started with the Mixing Bowl
First up, make sure your mixing bowl and beaters are squeaky clean and absolutely dry. Any residual oil or moisture can sabotage your meringue from the get-go. Use a glass or metal bowl since plastic can hang onto grease.
Whisking the Egg Whites
Now, time to whisk those egg whites. Start slow and steady. You want to incorporate air gradually, transforming the egg whites into soft peaks. Increase the speed until they hold their shape but aren't dry.
Here's a handy tip: a pinch of salt or a dash of lemon juice can help stabilize the whites, giving you more confidence in the final structure.
Adding Sugar – Slowly Does It
This is where it gets crucial. Gradually add your superfine sugar, one tablespoon at a time, beating well after each addition. This might take a bit longer, but trust me, your dessert will thank you. The sugar should dissolve completely to avoid gritty textures.
Checking for Readiness
Wondering when to stop? Rub a bit of the mixture between your fingers. If it’s grainy, keep mixing. If it feels smooth, you’re good to go. The mixture should form stiff peaks that hold their shape when you lift the beaters.
And there you have it! With these precise steps, you're well on your way to creating a pavlova that's not only gorgeous but free from those pesky tears.
Baking and Cooling Tips
Alright, so you've got your pavlova mixture ready. Now, it's time to get serious about baking and cooling. It's not just about throwing it in the oven and hoping for the best. There's a bit of a rhythm to it.
Preheating and Oven Settings
Your oven temperature is a big deal. Preheat it to about 130°C (around 265°F). This ensures the pavlova dries out rather than bakes too quickly, which can cause it to crack and weep. Use the lower or middle rack, and if you can, go for fan-forced. It helps circulate the heat evenly.
During the Bake
Once your pavlova is in, don’t be tempted to open the door to peek. Changes in temperature can mess up the baking. Bake it for around 1.5 to 2 hours. You'll know it's done when it looks dry and easily lifts off the paper.
Cooling Down
Cool time is crucial! Turn off the oven, leave the door slightly ajar, and let the pavlova cool in there. Sudden temperature changes could turn a perfect pavlova into a weeping one. Let it cool completely in the oven — it’s all about patience here.
Here’s a tip: Humidity is the pavlova's enemy! If your kitchen's too humid, consider investing in a dehumidifier or choose a dry day for dessert making.
| Temperature | Time |
|---|---|
| 130°C (265°F) | 1.5 - 2 hours |
Following these baking tips will get you closer to a pavlova that stays proudly intact without a tear in sight.
Storing and Serving Suggestions
Alright, you’ve mastered the art of a dry pavlova, and now it's time to think about storage and serving. How you handle these last steps can make a big difference in maintaining that lovely texture.
Storing Your Pavlova
Keeping your pavlova fresh is all about avoiding moisture. Store the meringue in an airtight container in a cool, dry place – not the fridge! Humidity in fridges can cause your pavlova to soften and weep. If you live in a particularly humid area, consider adding a silica gel packet (the type safe for food) inside the container to absorb any moisture.
Ideally, consume your pavlova within 24 hours of making it for peak freshness. If that’s not possible, the meringue can be stored for up to two days in a well-sealed container, but remember, time is ticking once it’s topped and served.
Serving Suggestions
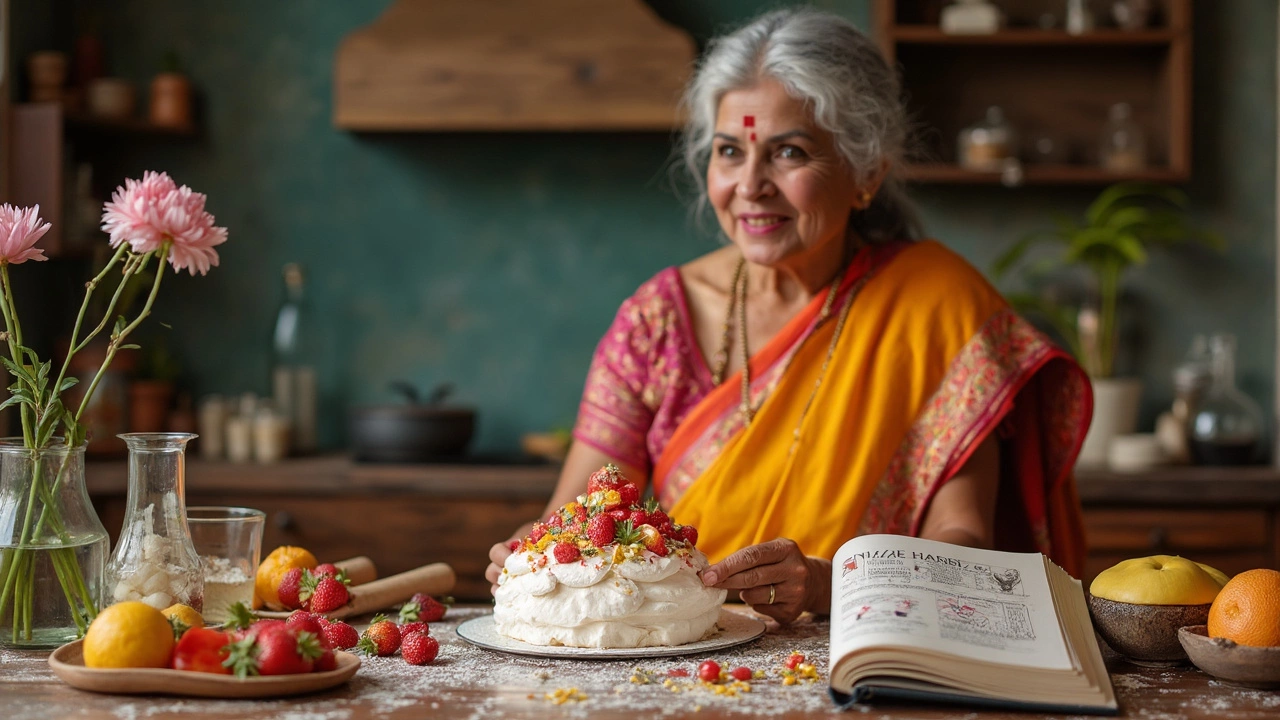
When it comes to serving, timing is everything. Top your pavlova just before serving to keep it looking its best. Load it up with fresh fruits like strawberries, kiwi, or passionfruit, which not only add flavor but a burst of color too. Cream or any toppings can start making the pavlova collapse if left for a long time, so keep them ready to go but hold off until the last minute.
For a delish twist, you could even set up a pavlova buffet. Let guests pick their own toppings from a variety of fruits, whipped cream, or even choc chips for that ultimate personalized touch.
Extra Tips
- Serving your pavlova immediately after topping keeps the meringue crisp and the presentation show-stopping.
- If you’ve got leftovers, and who doesn’t love leftovers, pop them in an airtight container but know they’re best enjoyed within a day.
In a pinch, pavlova can be a fantastic next-day dessert. Give it some love and care, and it’ll stay delightful.