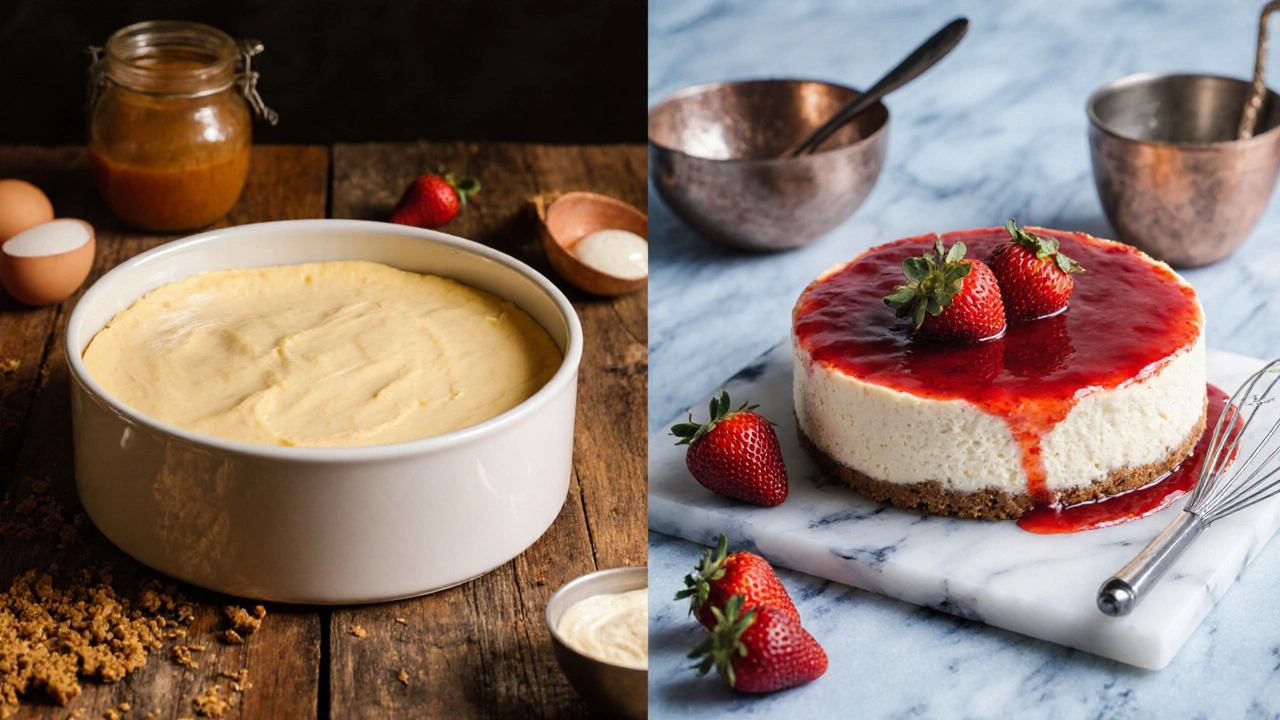
Two Main Cheesecake Types Explained - Classic vs. No‑Bake
Learn the two main cheesecake types-classic baked and no‑bake-plus their textures, ingredients, and tips for perfect results.
Read MoreWhen working with cheesecake texture, the smooth, dense, and velvety feel you get after a slice melts in your mouth. Also known as cheesecake consistency, it decides whether a cheesecake feels airy like a mousse or heavy like a custard. The texture is the result of three main factors: the dairy base, the mixing method, and the bake environment. Understanding how each piece fits together lets you troubleshoot a grainy edge, a cracked top, or a soggy bottom before they happen.
The first building block is the dairy mix. cream cheese, a full‑fat, cultured cheese that provides the classic tang and structure forms the backbone. Pair it with the right kind of cream and the result can swing from light to decadent. heavy cream, a high‑fat dairy that adds richness and stabilises the batter during baking is the go‑to for a dense, buttery finish. In contrast, whipping cream, a slightly lower‑fat option that whips easily and introduces air pockets creates a lighter, more mousse‑like crumb. Selecting the proper cream influences two semantic triples: "cheesecake texture requires heavy cream for richness" and "cheesecake texture benefits from whipping cream for lightness". The balance you strike between these two determines whether diners describe your slice as "silky" or "fluffy".
Beyond the dairy, the way you combine ingredients matters. Over‑mixing can incorporate too much air, leading to a spongy texture that cracks when cooled. Under‑mixing leaves lumps of cream cheese that grind into a grainy mouthfeel. Keep mixing just until the batter is smooth and homogeneous. Then, consider the bake temperature. A low, slow bake (around 300°F/150°C) gently sets the custard, reducing the risk of cracks and preserving a butter‑soft interior. A higher temperature (325‑350°F/160‑175°C) speeds up setting but can dry out the edges, making the texture uneven. This creates the third semantic triple: "cheesecake texture is affected by baking temperature".
Finally, the cooling stage locks in the texture you worked for. A rapid chill in the freezer can cause the outer layer to contract, creating a rubbery rim. Instead, let the cheesecake cool in the oven with the door slightly ajar, then chill it in the refrigerator for at least four hours. This gradual cooling lets the proteins and fats align smoothly, giving you that clean slice without a gummy top. By now you’ve seen how dairy selection, mixing technique, and temperature management intertwine to shape the final bite.
Armed with these facts, you’ll be able to read the subtle cues in any recipe and adjust on the fly – whether you’re swapping heavy cream for whipping cream, tweaking the oven dial, or mastering the perfect mix time. The posts below dive deeper into each of these areas, offering step‑by‑step guides, common pitfalls, and pro‑level tricks to keep your cheesecake texture consistently flawless. Ready to explore the details? Scroll down and start perfecting your next bake.
Learn the two main cheesecake types-classic baked and no‑bake-plus their textures, ingredients, and tips for perfect results.
Read MoreDiscover whether heavy whipping cream or sour cream gives a cheesecake the best texture, flavor, and stability, with a detailed comparison, tips, and FAQs.
Read More