Fudge Temperature Calculator
Result:
Nothing ruins fudge like a grainy texture. You’ve melted the chocolate, stirred in the condensed milk, maybe even added a splash of vanilla - but when you bite into it, it’s sandy, crumbly, or worse, crunchy. It shouldn’t be this way. Good fudge should melt on your tongue like silk. The secret isn’t in fancy ingredients or expensive equipment. It’s in controlling one thing: sugar crystallization.
Why Fudge Gets Grainy
Fudge is essentially a supersaturated sugar solution. When you heat sugar, water, and cream together, you dissolve way more sugar than water normally can hold. As it cools, that sugar wants to form crystals. A few tiny crystals? Perfect. They give fudge its smooth, dense body. Too many? You get grit. Too big? You get rock candy.The problem isn’t sugar. It’s how you handle it. Stirring too early, letting the mixture cool unevenly, or even just a stray crystal on the side of the pan can trigger a chain reaction. One crystal grows, pulls in more sugar, and soon your whole batch turns into a sugar sandcastle.
The One Rule That Changes Everything
Don’t stir while the mixture is heating.That’s it. No stirring until it hits the right temperature. Most people stir constantly, thinking they’re helping it melt evenly. But stirring during the heating phase introduces air, creates temperature gradients, and encourages premature crystal formation. You’re not mixing - you’re sabotaging.
Instead, bring your mixture to a boil over medium heat, then leave it alone. Let it bubble. Let it simmer. Watch the color change from cloudy to clear. The only thing you should do during this time is occasionally swirl the pan gently to check for sticking - never insert a spoon or spatula.
Temperature Is Your Best Friend
Sugar doesn’t just need heat. It needs the *right* heat. Fudge sets best between 234°F and 238°F (112°C to 114°C). That’s the soft-ball stage. Below that? It won’t set. Above? It turns hard and brittle.Guessing with your finger or a spoon won’t cut it. You need a candy thermometer. Not the cheap kind that wobbles. A digital one with a clip that attaches to the side of the pot. A $15 thermometer is the single best investment you can make for fudge. I’ve tested a dozen recipes. Every time, the one with accurate temperature control came out smooth. The rest? Grainy or crumbly.
When the mixture hits 234°F, remove it from heat immediately. Don’t wait. Don’t let it go one degree higher. The residual heat will carry it another few degrees. That’s why you take it off early.

Let It Cool - But Don’t Rush It
This is where most people mess up again. As soon as you take it off the stove, they start stirring. Big mistake.Let the mixture cool undisturbed to 110°F (43°C). That’s about 15 to 20 minutes. Don’t put it in the fridge. Don’t fan it. Just let it sit on the counter. During this time, sugar molecules are organizing themselves quietly. No crystals form because there’s no agitation.
When it hits 110°F, that’s your signal. Now you can stir. Add your chocolate, butter, vanilla, nuts - whatever your recipe calls for. Stir vigorously for about a minute until it thickens slightly and loses its shine. Then pour it into the pan.
Why This Works - The Science Made Simple
Think of sugar molecules like people in a room. When you’re heating, they’re dancing wildly, all over the place. If you start clapping (stirring), they all start grouping into pairs. Those pairs attract more, then form lines, then whole groups - crystals.By not stirring, you keep them dancing alone. When they cool slowly, they naturally settle into small, uniform clusters. Then, when you stir at the right moment, you’re not creating new crystals - you’re just distributing the ones that are already perfect.
Common Mistakes (And How to Fix Them)
- Using a metal spoon to test - Metal conducts heat and can create a cold spot that triggers crystallization. Use a clean, dry spoon, and only test after removing from heat.
- Scraping the sides of the pan - Sugar crystals often cling to the sides. Before you start heating, brush them down with a wet pastry brush. Or cover the pan with a lid for the first minute - steam will melt any stray crystals.
- Adding ingredients too early - Chocolate and butter must go in *after* cooling. If you add them while hot, they can shock the sugar and cause graininess.
- Using old or low-quality chocolate - Chocolate with added oils or stabilizers won’t melt evenly. Stick to high-cocoa chocolate (at least 60%) with no added emulsifiers.
Pro Tip: The Melbourne Kitchen Hack
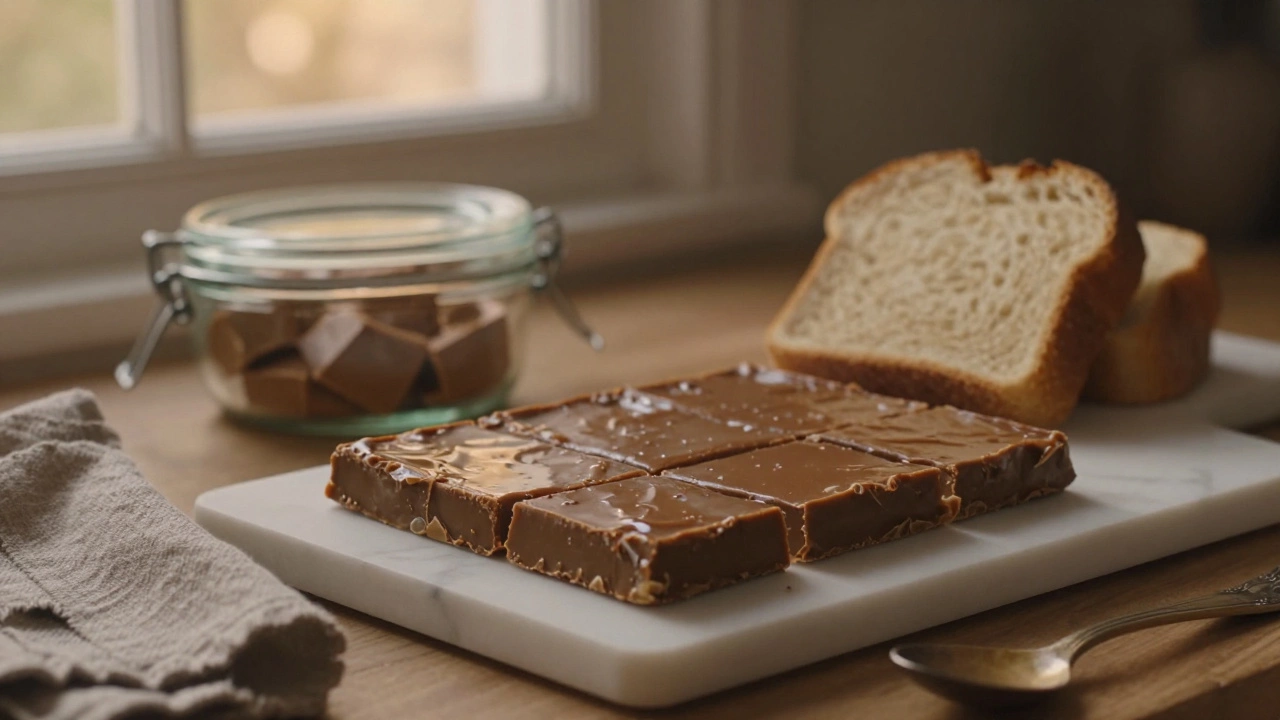
In Melbourne, humidity can ruin fudge. The air is often damp, especially in winter. Sugar loves moisture - it pulls water out of the air and turns your fudge sticky or grainy over time.Store your fudge in an airtight container with a piece of bread. Yes, bread. It absorbs excess moisture. Replace the bread every two days. Your fudge will stay soft and smooth for up to two weeks.
Final Checklist for Perfect Fudge
- Use a candy thermometer - no exceptions.
- Heat to 234°F - no higher.
- Don’t stir while heating.
- Let cool to 110°F before stirring in add-ins.
- Stir only until thickened - about 60 seconds.
- Store in an airtight container with a slice of bread.
If you follow these steps, you’ll make fudge that’s smooth, rich, and unforgettable. No more grainy disappointments. No more giving away batches because you’re embarrassed. Just pure, velvety chocolate - the way it was meant to be.