Fudge Temperature Calculator
Result
Ever made fudge that turned out grainy, oily, or just wouldn’t set? You’re not alone. Fudge is one of those desserts that looks simple-just sugar, butter, and chocolate-but gets tricky fast. It doesn’t take a professional chef to mess it up. Even experienced home bakers walk away frustrated, wondering why something so basic won’t cooperate. The truth? Fudge isn’t hard because of the ingredients. It’s hard because of physics.
The Sugar Problem
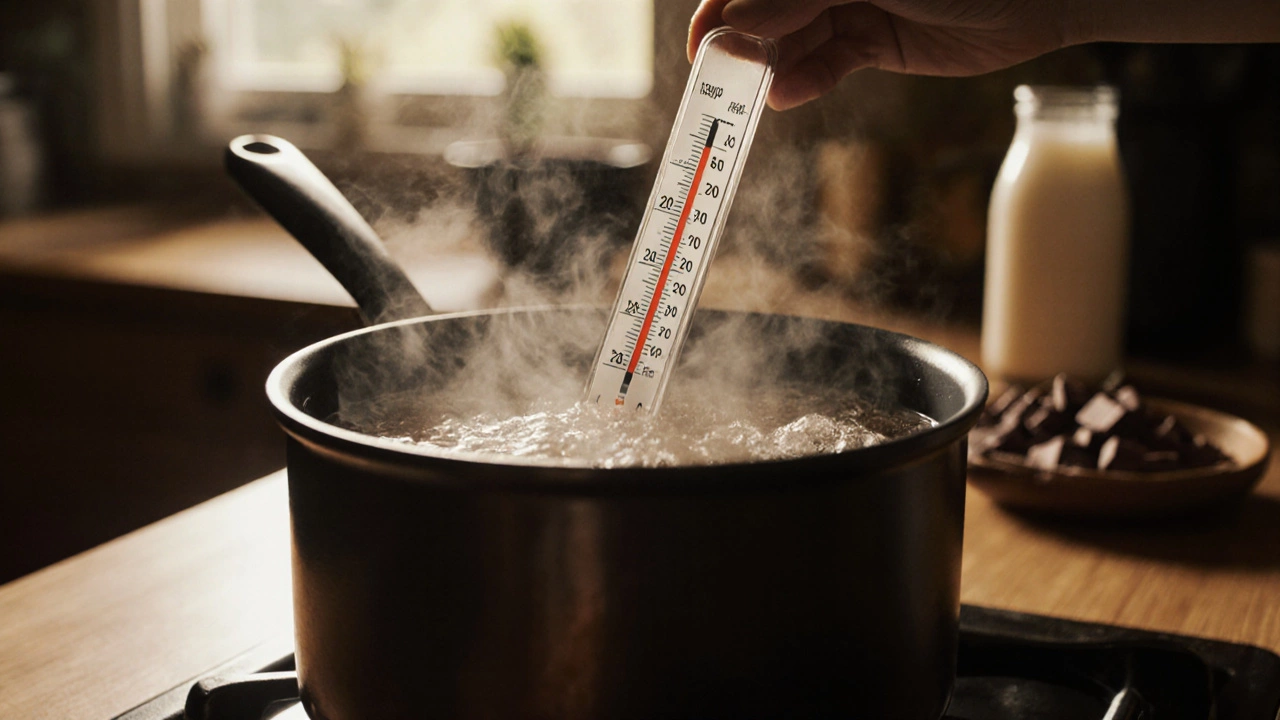
Fudge is basically sugar crystals in disguise. When you heat sugar, water, and milk or cream, you’re making a sugar syrup. The goal? Get it to the soft-ball stage-234°F to 240°F. That’s the exact temperature where sugar molecules are dissolved enough to form tiny, even crystals when cooled. Too cold, and the fudge stays sticky. Too hot, and the sugar crystallizes too fast, turning your smooth fudge into a gritty mess.
Most people don’t use a candy thermometer. They guess. They stir. They watch for bubbles. But sugar doesn’t lie. At 230°F, it’s still too wet. At 250°F, it’s already hardening into toffee. A few degrees off, and your fudge is ruined. That’s why recipes say to use a thermometer. It’s not a suggestion. It’s a requirement.
Stirring Is a Trap
You’ve probably heard: “Don’t stir after it boils.” But why? Because stirring introduces air and seeds for crystals to grow. Once the sugar syrup hits boiling point, you’re done stirring. Any movement-whether it’s a spoon, spatula, or even a quick swirl-can trigger premature crystallization. That’s why your fudge turns grainy. The sugar crystals form unevenly, clumping together instead of staying smooth.
Some recipes say to stir after removing from heat. That’s fine-but only after the syrup has cooled to about 110°F. Too early, and you’re restarting the crystallization process. Too late, and the mixture hardens before you can stir in the chocolate. Timing matters. You have a 10-minute window after taking it off the stove to stir in butter and chocolate. Miss it, and you’re stuck with a lump.
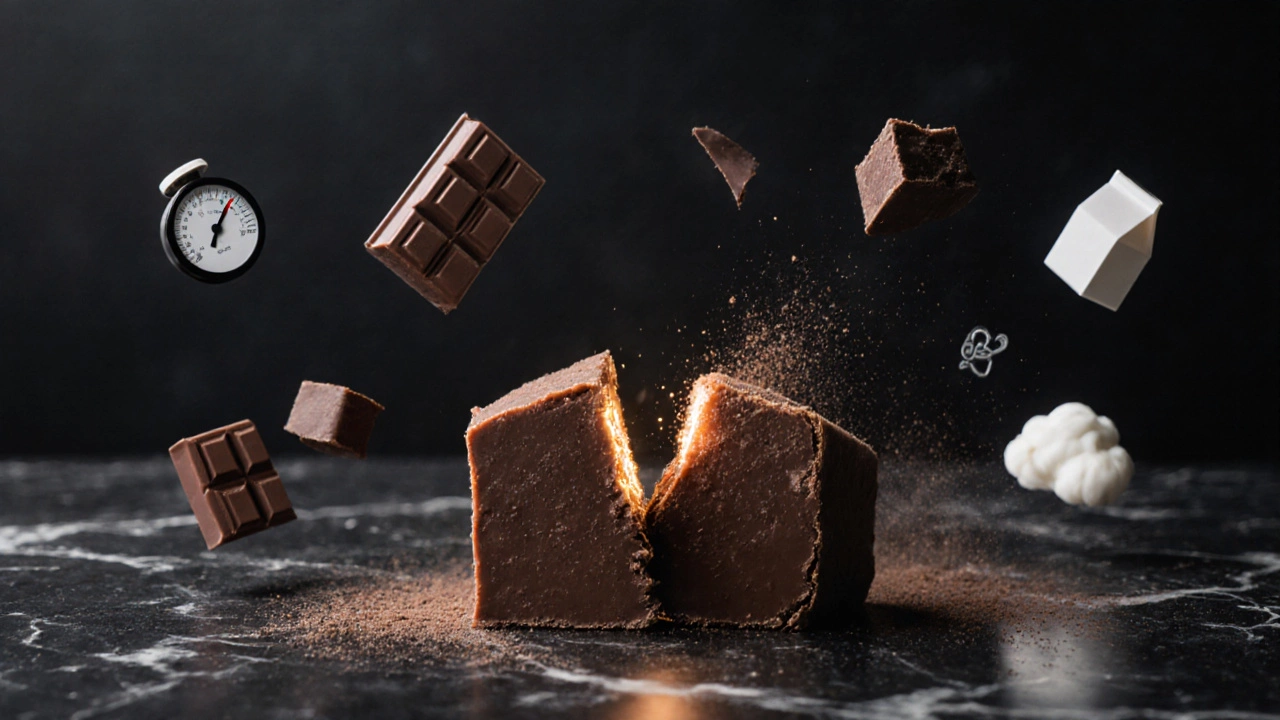
Chocolate Isn’t Just Chocolate
Not all chocolate behaves the same. Dark chocolate with 60% cocoa solids melts differently than milk chocolate with added emulsifiers. Chocolate chips? They’re designed to hold their shape in cookies. That means they contain less cocoa butter and more stabilizers. When you melt them into fudge, they don’t blend smoothly. You end up with streaks or a greasy texture.
Real chocolate-bar chocolate, chopped into even pieces-melts evenly. It has the right fat content to bind with the sugar syrup and create that velvety mouthfeel. If you use chocolate chips, your fudge will taste fine, but it won’t feel like fudge. It’ll feel like melted candy.
Butter and Cream Are Sensitive Too
Butter isn’t just flavor. It’s fat. And fat coats sugar crystals, keeping them small and smooth. But if your butter is cold, it won’t melt into the hot syrup evenly. It’ll clump. If it’s too warm, it separates. Same with cream. Heavy cream with 36% fat works. Light cream? It has more water. More water means longer cooking time, which increases the chance of overheating the sugar.
Some recipes call for evaporated milk instead of cream. That’s fine-it’s concentrated, so less water to boil off. But if you swap it for regular milk, you’re adding 80% more water. That means you need to cook it longer. And longer cooking means more risk of burning or overshooting the temperature.
Temperature Drops and Humidity
Weather matters. On a humid day, sugar attracts moisture from the air. That’s why fudge made on rainy days often turns sticky or doesn’t set properly. Even if you nail the temperature, high humidity can undo your work. That’s why professional candy makers keep their kitchens dry. They use dehumidifiers.
And don’t put your fudge in the fridge to set. That’s a common mistake. Cooling too fast forces the sugar to crystallize unevenly. The outside sets quickly. The inside stays soft. When you cut it, it cracks. The right way? Let it cool at room temperature, uncovered, for 2-3 hours. Then cover it. That gives the crystals time to form slowly and evenly.
Why Recipes Lie
Many fudge recipes say, “Just mix and heat until it thickens.” That’s not helpful. Thickening isn’t a visual cue. It’s a temperature reading. Some say, “Cook until it pulls away from the pan.” That’s vague. A sticky pan could mean it’s 220°F or 250°F. There’s no way to tell without a thermometer.
Other recipes skip the thermometer because they assume you know what “soft-ball stage” looks like. But unless you’ve dipped a spoon in cold water a hundred times, you won’t recognize it. The soft-ball test-dropping a bit of syrup into cold water and seeing if it forms a pliable ball-is unreliable for beginners. It’s messy. It’s inconsistent. And it’s outdated.
The Real Fix: Tools and Patience
Here’s what actually works:
- Use a candy thermometer. Buy one under $15. It’s the most important tool you’ll ever use for fudge.
- Use real chocolate-chopped bar chocolate, not chips.
- Use heavy cream or evaporated milk, not regular milk.
- Don’t stir after boiling. Ever.
- Let it cool to 110°F before stirring in chocolate and butter.
- Let it set at room temperature. No fridge. No freezer.
- Make it on a dry day. If it’s raining, wait.
That’s it. No magic. No secrets. Just science. Fudge isn’t hard because it’s complicated. It’s hard because it’s precise. And most people treat it like a casual bake, not a controlled chemical reaction.
What Happens When You Get It Right
Good fudge should snap when you break it. It should melt slowly on your tongue, not dissolve instantly. It should hold its shape without being hard. The texture? Like silk. That’s what happens when sugar crystals are under 10 microns wide. That’s the sweet spot.
When you nail it, you’ll know. It’s not just tasty. It’s satisfying in a way that cookies or brownies can’t match. You didn’t just make dessert. You made candy. And that’s why people keep trying-even after the failures.
Common Mistakes and Quick Fixes
Here’s what goes wrong-and how to fix it before you toss it:
- Grainy texture? You stirred too early or didn’t use a thermometer. Next time, wait until 110°F to stir.
- Too soft or sticky? You didn’t cook it long enough. Next time, hit 238°F.
- Too hard or crumbly? You cooked it too long. Next time, pull it at 236°F.
- Greasy or oily? You used chocolate chips or overheated the butter. Switch to real chocolate and watch the temperature.
- Didn’t set at all? You used milk instead of cream, or it was too humid. Try evaporated milk and wait for a dry day.
Every failed batch teaches you something. The first time you make fudge, expect to mess up. The second time, you’ll be closer. By the third, you’ll know exactly when to stop cooking. That’s the secret: repetition, not perfection.
Can I make fudge without a candy thermometer?
You can, but you’re guessing. The cold water test (dropping syrup into cold water to see if it forms a soft ball) is unreliable and messy. Most people misjudge it. A $15 candy thermometer gives you exact readings and cuts your failure rate by 80%. It’s the only reliable way.
Why does my fudge turn out oily?
Oily fudge usually means the chocolate was overheated or you used chocolate chips. Chips contain stabilizers that don’t melt smoothly. Use chopped bar chocolate with at least 60% cocoa solids, and remove the pot from heat before adding it. Stir gently until fully melted.
Can I use condensed milk instead of cream?
Sweetened condensed milk is already full of sugar, so using it changes the entire recipe. It’s not a direct substitute. You’d need to reduce or eliminate added sugar, which alters the chemistry. Stick to heavy cream or evaporated milk unless you’re following a recipe designed for condensed milk.
Why does fudge sometimes crack when I cut it?
Cracking happens when the fudge cools too fast. Putting it in the fridge causes uneven contraction. Let it cool slowly at room temperature for 2-3 hours. Then, use a sharp knife dipped in hot water to cut clean slices.
How long does homemade fudge last?
Stored in an airtight container at room temperature, fudge lasts 2-3 weeks. If it’s humid, it may get sticky sooner. For longer storage, freeze it-wrapped in parchment and placed in a sealed bag-for up to 3 months. Thaw at room temperature before eating.