Cheesecake Baking Calculator
Baking Parameters
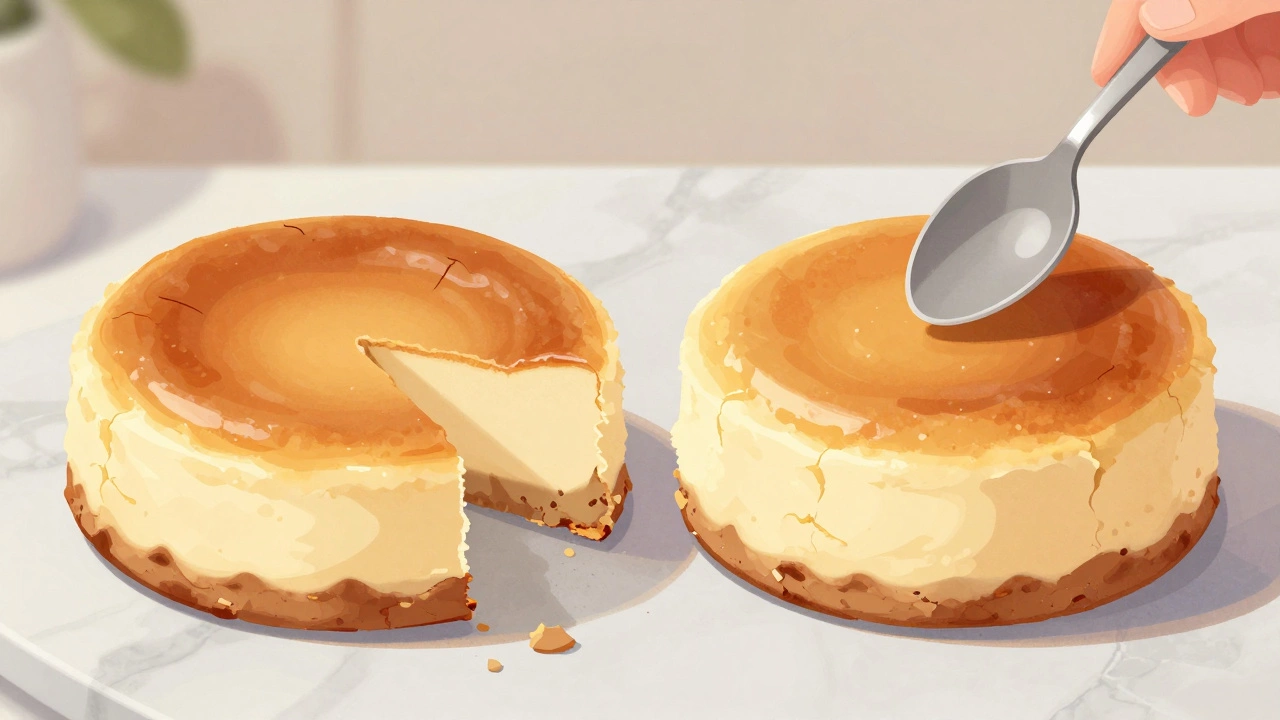
Cheesecake is one of those desserts that looks fancy but can turn into a disaster if you get the baking method wrong. Cracks on top? A soggy bottom? A dry, grainy texture? It’s not your ingredients-it’s probably how you baked it. For decades, bakers have argued over the best way to bake a cheesecake: water bath or no water bath. The truth? Both work, but one gives you a smoother, creamier, more professional result every single time.
Why Cheesecake Cracks (And How to Stop It)
Cheesecake is basically a custard. It’s eggs, cream cheese, sugar, and a little flour or cornstarch, baked slowly until it jiggles like gelatin. The problem? Eggs set at different temperatures. The outer edges cook faster than the center. When the edges overcook, they pull away from the center, and that tension creates cracks. Heat shock-like opening the oven door too early or cooling the cake too fast-makes it worse. You can try to fix this by lowering the oven temperature, using a springform pan with a tight seal, or letting the cake rest overnight. But none of those fix the root cause: uneven heat. That’s where the water bath comes in.Water Bath: The Gold Standard
A water bath, or bain-marie, means placing your cheesecake pan inside a larger pan filled with hot water. The water surrounds the cake, creating a gentle, even heat that cooks it slowly from all sides. Think of it like steaming the cake instead of roasting it. This method does three things:- Slows down the cooking so the center catches up to the edges
- Keeps the oven air moist, preventing the surface from drying out and cracking
- Creates a silky texture that’s almost custard-like
How to Use a Water Bath (Simple Steps)
You don’t need fancy equipment. Here’s how to do it right:- Wrap your springform pan in two layers of heavy-duty aluminum foil. Make sure no water can leak in. A single layer? It’ll fail. Trust me, I’ve soaked a floor.
- Place the wrapped pan in a larger roasting pan or deep baking dish.
- Fill the outer pan with hot water-about halfway up the sides of your springform pan. Don’t pour it in while the cheesecake is in there. Pour the water after the cake is in the oven.
- Bake at 325°F (160°C) for 55-70 minutes. The center should still jiggle slightly when you nudge the pan. It’ll set as it cools.
- Turn off the oven, crack the door open with a wooden spoon, and let the cheesecake cool inside for an hour. This prevents sudden temperature drops.
No Water Bath? It’s Possible-But Risky
Some recipes skip the water bath. They promise faster prep, less cleanup, and “just as good” results. And sure, you can make a decent cheesecake without it. But here’s what you’re trading off:- Higher risk of surface cracks
- Drier texture near the edges
- More likely to overbake because you can’t see how it’s cooking
- Harder to get that professional, velvety mouthfeel
- Use a lower oven temperature: 300°F (150°C) instead of 325°F
- Place a shallow pan of water on the bottom rack of the oven to add moisture
- Don’t open the oven door for the first 45 minutes
- Let the cake cool in the oven with the door slightly open
What About Oven-Safe Containers?
Some people use ceramic ramekins or glass dishes instead of springform pans. That’s fine if you’re making mini cheesecakes. But for a full-size cake, springform is king. It lets you release the sides without damaging the delicate cake. Glass or ceramic? You risk breaking the cake when you try to unmold it. And if you’re using a springform, make sure it’s the heavy-duty kind. Thin pans warp under the weight of the batter and the water bath. I’ve used the same Wilton springform for eight years. It’s not expensive, but it’s built to last.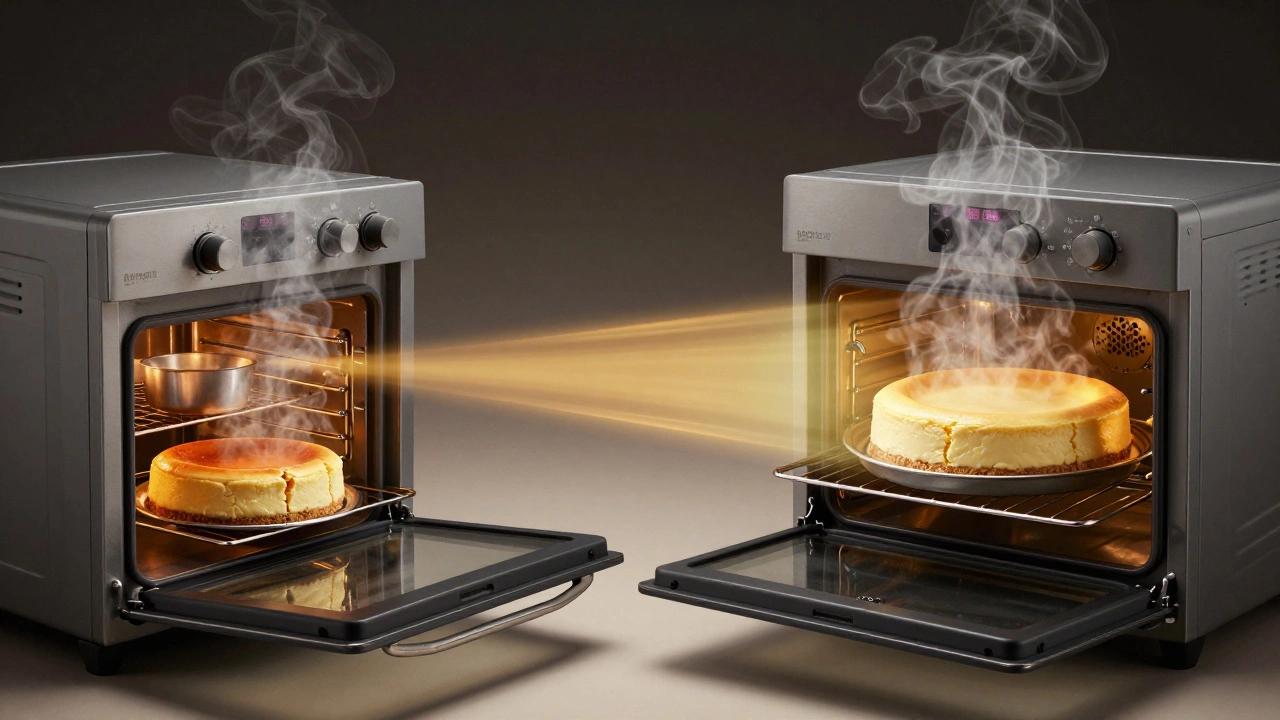
Common Mistakes (And How to Avoid Them)
Even with a water bath, people mess up. Here’s what goes wrong-and how to fix it:- Water leaks into the pan → Double-wrap the bottom with foil. Test it by pouring water into the outer pan before baking. If it’s dry after 10 minutes, you’re good.
- The top is too brown → Cover the top loosely with foil halfway through baking. You’re not trying to bake a crust-you want a pale, delicate surface.
- The center doesn’t set → It’s not done yet. Bake another 10 minutes. Cheesecake continues cooking from residual heat.
- It’s too soft after cooling → You probably underbaked it. Next time, let it jiggle just a little in the center. If it looks like a wave, it’s ready.
What About New Methods? Air Fryer? Instant Pot?
You’ll see TikTok videos claiming you can make cheesecake in an air fryer or Instant Pot. Yes, you can. But here’s the catch: those methods work for small, dense, compact cakes. They’re great for single servings or no-bake versions. But they don’t replicate the slow, even heat of a water bath. The texture? Often gummy or rubbery. The crust? Sometimes soggy from steam. If you want a classic New York-style cheesecake-with a crisp graham cracker base, a rich, creamy center, and a flawless top-stick with the oven and water bath. Everything else is a shortcut that sacrifices quality.Final Verdict
The water bath isn’t just a trick. It’s the reason professional bakers make cheesecake look like dessert art. It’s the difference between a good cheesecake and one that makes someone pause, take a bite, and say, “I’ve never had one this smooth.” Yes, it’s messier. Yes, it takes longer. But if you care about texture, appearance, and that unforgettable creamy bite? There’s no better method.Next time you bake a cheesecake, skip the shortcuts. Wrap that pan in foil. Fill the roasting pan with warm water. Let the oven do its quiet, slow work. The result? A cheesecake that doesn’t just taste good-it looks like it came from a bakery in Paris, not your kitchen in Melbourne.
Do I really need a water bath for cheesecake?
Yes, if you want a smooth, crack-free cheesecake with a creamy texture. Without a water bath, the edges cook faster than the center, leading to cracks and a drier texture. The water bath creates gentle, even heat that prevents these issues.
Can I use a regular baking dish instead of a springform pan?
You can, but it’s not ideal. Springform pans let you release the sides without cutting into the cake. Regular dishes make it hard to remove the cheesecake cleanly, and you risk breaking it. If you must use one, line it with parchment paper and chill the cake overnight before serving.
Why does my cheesecake crack even with a water bath?
Cracks can still happen if the oven temperature is too high, the cake is overbaked, or it cools too quickly. Make sure the center jiggles slightly when you nudge the pan, then turn off the oven and let it cool inside with the door cracked open for an hour.
How do I know when my cheesecake is done?
Gently shake the pan. The edges should look set, but the center should still jiggle like Jell-O-not slosh like liquid. It will firm up as it cools. If the center looks completely solid, you’ve overbaked it.
Can I bake cheesecake without a water bath and still get good results?
Yes, but you’ll likely get cracks and a slightly drier texture. To improve results, lower the oven temperature to 300°F (150°C), place a pan of water on the bottom rack, and avoid opening the oven door. Still, the water bath gives a superior result every time.