Perfect Fudge Temperature Calculator
Target Temperature
Enter your details to find the perfect temperature.
There is nothing quite as disappointing as biting into a piece of homemade fudge only to find it gritty like sandpaper or hard enough to crack a tooth. You followed the recipe exactly, right? You mixed the ingredients, you boiled them, and you waited. So why did it fail? The truth is, making fudge is a confectionery made by boiling sugar, butter, and milk or cream until it reaches a specific temperature, then beating it until it thickens. It sounds simple, but it is actually a chemistry experiment disguised as dessert. If you want that signature creamy, melt-in-your-mouth texture, you cannot rely on guesswork. You need precision.
The "best way" to beat fudge isn't just about stirring it vigorously; it's about controlling the crystallization process. When sugar cools from a hot liquid state, it wants to form large crystals. Large crystals equal grainy fudge. Your goal is to create millions of tiny crystals instead. This requires heat management, precise timing, and the right tools. Let’s break down exactly how to achieve professional-quality results in your home kitchen.
The Science Behind Soft Fudge
Before you even turn on the stove, you need to understand what is happening inside your saucepan. Fudge relies on supersaturation. You are dissolving more sugar into the liquid than would normally be possible at room temperature. When this solution cools, the excess sugar has nowhere to go but out of the liquid, forming solid structures.
If you let the mixture cool too slowly, or if you stir it incorrectly, those structures grow big. Big crystals mean grit. To prevent this, we use two main tactics: seeding and agitation. Seeding involves adding a small amount of already-crystallized sugar (like granulated white sugar) to the pot before boiling. This provides a template for the rest of the sugar to crystallize around, keeping the grains small. Agitation-beating the mixture-encourages rapid nucleation, creating thousands of tiny crystals rather than a few large ones.
Many beginners skip the granulated sugar step, thinking brown sugar alone is enough. While brown sugar adds flavor and moisture due to its molasses content, it lacks the structural consistency needed for perfect crystal formation. Always include a portion of white granulated sugar in your mix.
Essential Tools for Success
You can make fudge with just a pot and a spoon, but if you want consistent results every time, certain tools are non-negotiable. Relying on the "cold water test" is an old-school method that often leads to error. Is it thread stage? Soft ball? Hard ball? Unless you have years of experience judging viscosity by eye, you will likely overcook or undercook the batch.
- Candy Thermometer: This is your most important tool. Digital thermometers are faster and easier to read than analog ones. Clip it to the side of your pot so the tip hangs in the syrup without touching the bottom.
- Heavy-Bottomed Saucepan: A thin pan creates hot spots. Hot spots cause localized burning and uneven cooking. You want gentle, even heat distribution.
- Wooden Spoon or Spatula: Metal spoons conduct heat and can scratch your pan. Wood is ideal for the initial mixing phase.
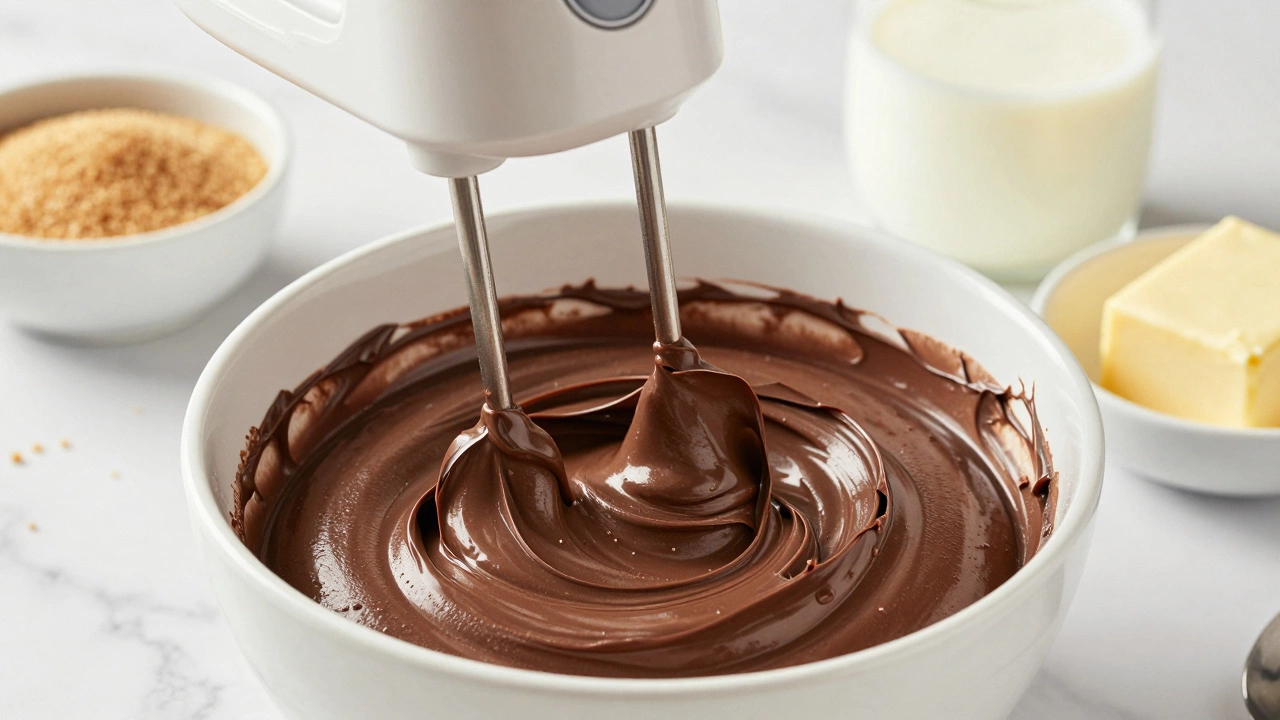
- Electric Mixer: For the beating stage, an electric hand mixer or stand mixer saves your arm and ensures consistent speed. Hand-beating fudge is exhausting and often inconsistent.
- 9x13 Inch Pan: Line this with parchment paper or foil before pouring. Greasing the sides helps the fudge release cleanly later.
The Step-by-Step Method for Perfect Texture
Here is the reliable method used by pastry chefs to ensure smooth, creamy fudge. We will use a classic chocolate fudge base as our example, but these principles apply to vanilla, peanut butter, and other flavors.
- Combine Dry Ingredients: In your heavy-bottomed saucepan, whisk together the granulated sugar, brown sugar, and a pinch of salt. Adding the dry sugars first helps prevent clumping when the wet ingredients are added.
- Add Wet Ingredients: Pour in the evaporated milk (or heavy cream), butter, and any extracts. Evaporated milk is preferred over regular milk because it has less water content, reducing the risk of the mixture becoming too runny.
- Heat Gently: Place the pan over medium-low heat. Stir constantly with a wooden spoon until the butter melts and the sugar dissolves completely. Scrape the sides of the pan to ensure no sugar crystals remain stuck to the glass or metal.
- Attach the Thermometer: Once the mixture is uniform and beginning to simmer, stop stirring. Attach your candy thermometer. Boiling agitates the mixture, which can trigger premature crystallization if you stir now.
- Boil to Temperature: Bring the mixture to a boil. Do not touch it. Watch the thermometer closely. You are aiming for the "soft-ball stage," which is between 234°F and 240°F (112°C - 116°C). At sea level, this is the sweet spot. If you live at a high altitude, you must adjust this temperature downward (subtract 1°F for every 500 feet above sea level).
- Remove and Cool Slightly: As soon as you hit 238°F (the middle of the range), remove the pan from the heat immediately. Residual heat will continue to cook the syrup. Let it sit undisturbed for about 5-10 minutes until it cools to around 110°F (43°C). This cooling period is crucial; if you beat it while it’s still piping hot, the fudge will stay soft and never set properly.
- Beat Vigorously: Add your chocolate chips or cocoa powder now. Using an electric mixer on medium-high speed, beat the mixture continuously. It will look glossy at first, then opaque and thick. This process usually takes 5-7 minutes. You know it’s done when the fudge loses its shine and starts to pull away from the sides of the bowl slightly.
- Pour and Set: Quickly pour the beaten fudge into your prepared pan. Smooth the top with a spatula. Sprinkle with toppings if desired. Let it cool at room temperature for at least 4 hours, or overnight, before cutting.
Common Mistakes and How to Fix Them
Even with the best instructions, things can go wrong. Here is how to troubleshoot the most frequent fudge failures.
| Problem | Cause | Solution |
|---|---|---|
| Grainy Texture | Large sugar crystals formed due to slow cooling or insufficient beating. | Ensure all sugar is dissolved before boiling. Beat vigorously once cooled. Next time, add a tablespoon of corn syrup to inhibit crystal growth. |
| Hard/Rocky Fudge | Cooked to too high a temperature (hard-ball stage or higher). | Use a calibrated thermometer. Aim strictly for 234-240°F. If it happens again, re-melt the fudge gently and add a splash of milk to lower the concentration. |
| Soft/Gummy Fudge | Not cooked long enough or removed from heat too early. | Monitor temperature closely. Ensure your thermometer is accurate. Test by dropping a bit in cold water; it should form a soft ball that flattens when picked up. |
| Cracks on Surface | Cooled too quickly or in a drafty area. | Let the fudge cool at room temperature away from windows or fans. Cover loosely with a towel after the first hour. |
Flavor Variations and Add-ins
Once you master the basic technique, you can experiment with flavors. However, keep in mind that adding liquids or fats changes the chemistry.
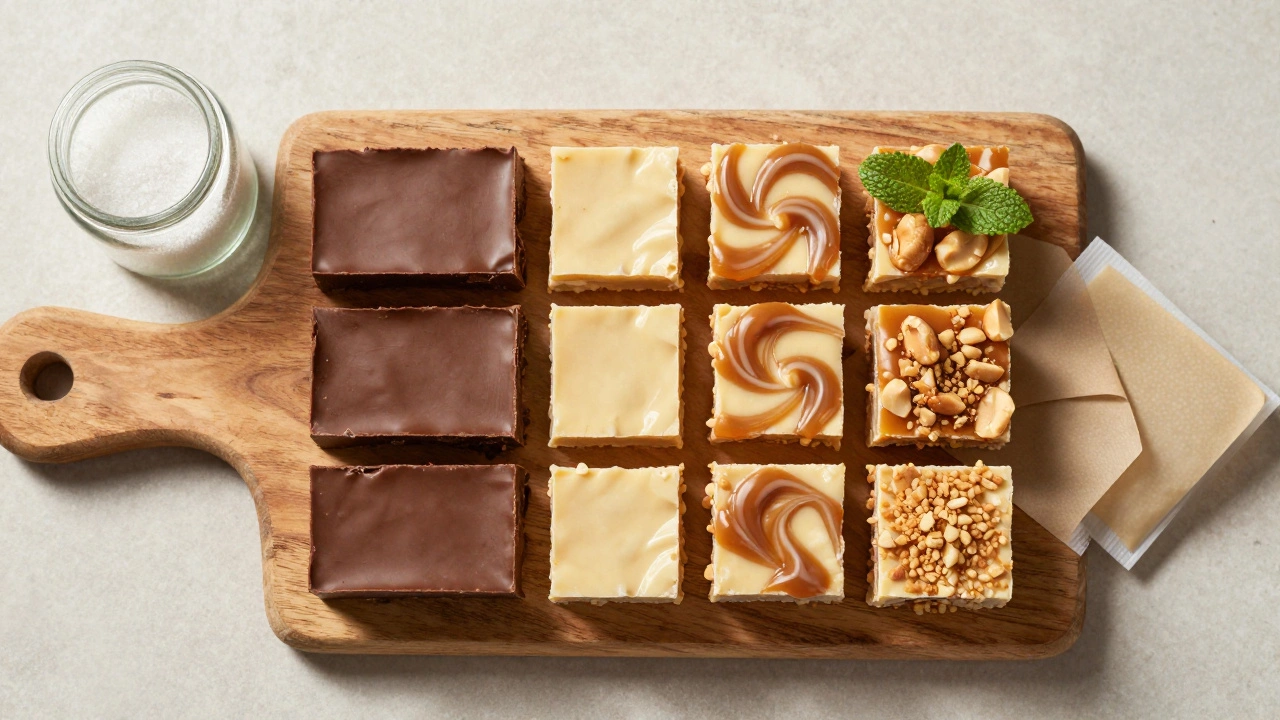
Peppermint Fudge: Replace vanilla extract with peppermint extract. Fold in crushed candy canes after beating. The mint oil is potent, so start with half a teaspoon and taste as you go.
Peanut Butter Fudge: Stir in creamy peanut butter during the beating stage. Peanut butter contains oil, which can soften the final product slightly, so ensure you beat it thoroughly to compensate.
Caramel Fudge: Use caramel bits or swirl in store-bought caramel sauce after pouring into the pan. Do not boil the caramel sauce with the sugar mixture, as it may burn.
Remember, nuts should always be toasted before adding them. Raw nuts can introduce moisture and lack the depth of flavor that roasting brings. Chop them finely to distribute evenly throughout the block.
Storage and Shelf Life
Fudge is hygroscopic, meaning it absorbs moisture from the air. If left uncovered, it will become sticky and lose its shape. Store your fudge in an airtight container at room temperature for up to two weeks. Separate layers with parchment paper to prevent sticking.
For longer storage, freeze it. Wrap individual pieces tightly in plastic wrap, then place them in a freezer bag. Fudge freezes beautifully and can last up to three months. Thaw it in the refrigerator to prevent condensation from making it soggy.
Why is my fudge grainy?
Graininess occurs when large sugar crystals form. This usually happens if you didn't dissolve the sugar completely before boiling, if you stirred the mixture while it was boiling, or if you didn't beat it enough after removing it from the heat. Adding a tablespoon of corn syrup or lemon juice can help prevent crystallization.
Can I make fudge without a candy thermometer?
Yes, but it is risky. You can use the cold water test. Drop a small amount of the boiling syrup into a glass of ice water. If it forms a soft ball that holds its shape but flattens when pressed, it is ready. However, a thermometer is much more reliable for consistent results.
What is the difference between using evaporated milk and regular milk?
Evaporated milk has about 60% of its water content removed, making it richer and thicker. Regular milk has high water content, which means you have to boil the fudge longer to evaporate that water. This increases the risk of scorching the sugar and makes the texture less creamy. Evaporated milk yields a denser, smoother result.
How do I fix fudge that is too hard?
If your fudge is rock-hard, it was likely overcooked. You can salvage it by chopping it up, placing it in a saucepan with a few tablespoons of milk, and heating it gently until melted. Then, re-boil it carefully, monitoring the temperature closely to avoid going too high again. Beat and set as usual.
Does altitude affect fudge making?
Yes. Water boils at a lower temperature at higher altitudes. If you live above sea level, you must lower your target temperature. Subtract 1°F (0.5°C) for every 500 feet (150 meters) of elevation. For example, at 5,000 feet, aim for 229°F instead of 234°F.